
Neon signs have been around for over a century, and they are still one of the most popular forms of signage today. These bright and colorful signs are often seen in storefronts, bars, and restaurants, adding a unique touch to any business. But what exactly are neon signs, and how do they work? In this article, we will explore everything you need to know about neon signs, including the difference between neon signs and LED neon signs, the benefits of neon signs, and how to make your own LED neon sign.
What Are Neon Signs?

Neon signs are a type of gas-discharge lamp that was invented by Georges Claude in 1910. They are made up of glass tubes filled with gas, such as neon, argon, or helium, and electrodes at each end. When a high voltage is applied to the electrodes, the gas inside the tube ionizes, producing a glowing plasma that emits light. Neon signs are often used for advertising or decorative purposes, and they come in a wide variety of shapes and sizes.
How Do Neon Signs Work?
Making your own LED neon sign is a fun and easy DIY project that anyone can do. To get started, you’ll need to purchase a neon sign kit, which typically includes a flexible LED light strip, a power adapter, and a remote control.
Once you have your kit, you can use it to create a custom LED neon sign in any shape or design you like. Simply cut the LED light strip to the desired length, attach it to a backing material like acrylic or wood, and power it up using the included adapter. With a little bit of creativity, you can create a stunning LED neon sign that’s sure to turn heads.
Colors of Neon Signs
Neon signs are available in a wide variety of colors, including red, orange, yellow, green, blue, purple, pink, and white. The color of the sign depends on the gas used inside the tube and the type of phosphor coating on the glass.
Red neon signs are made with neon gas, while blue neon signs are made with argon gas. A combination of neon and argon gases can be used to create other colors, such as purple, pink, and orange. Green neon signs are typically made by adding a small amount of mercury vapor to the tube, while white neon signs are made by using a phosphor coating on the inside of the tube.
| Color | Gas Used | Description |
| Red | Neon | Most common color used in neon signs. Produces a bright, bold color. |
| Blue | Argon | Creates a bright blue color. Often used to create a cool and calming atmosphere. |
| Green | Argon | Produces a bright green color. Often used to create a relaxing and peaceful atmosphere. |
| Yellow | Neon/Argon | A combination of neon and argon gases is used to create a bright yellow color. |

What Are LED Neon Signs?
LED neon signs are a newer type of neon sign that uses light-emitting diodes (LEDs) instead of gas and glass tubes. LED neon signs are often more energy-efficient, durable, and flexible than traditional neon signs. They are also easier to customize and less expensive to produce, making them a popular choice for small businesses and individuals.
How to Make Your Own LED Neon Sign
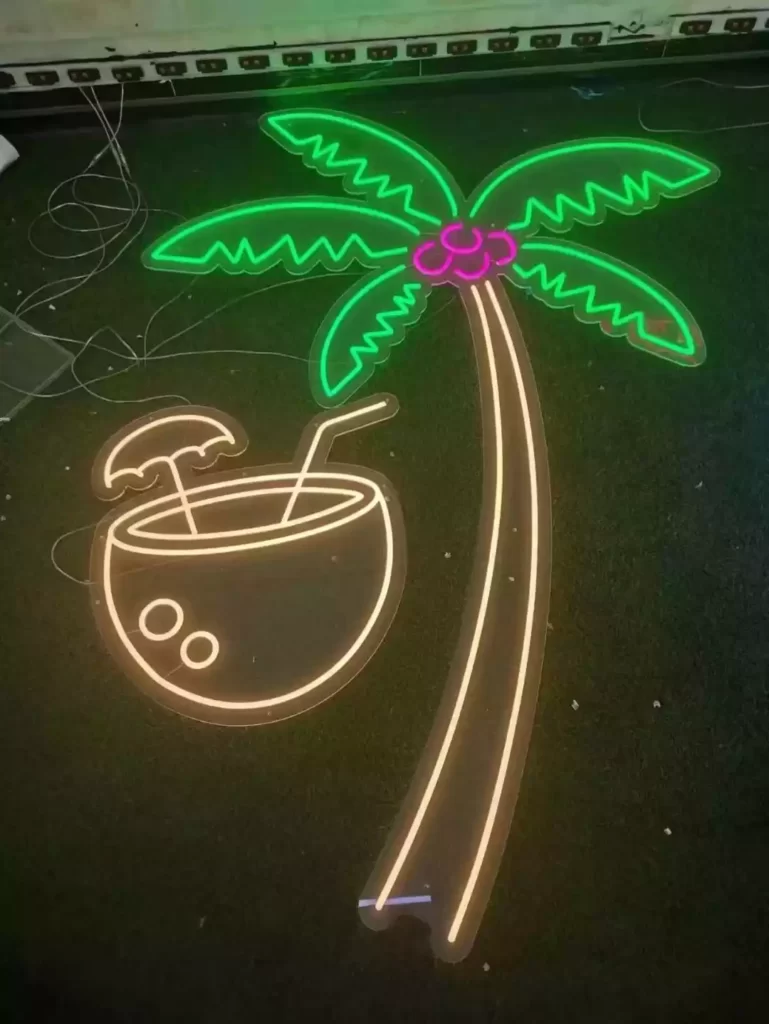
Making your own LED neon sign is a fun and creative project that can add a personal touch to your home or business. To make an LED neon sign, you will need a few basic supplies, including LED neon light strips, an acrylic backing board, and a power source. You can also purchase pre-made LED neon sign kits that come with everything you need to create your own sign.
To create your sign, you will need to design your message or logo and transfer it onto the acrylic board. Then, attach the LED neon light strips to the board, following the design. Finally, connect the strips to a power source and enjoy your new custom sign.
Where to Hang Your Neon Sign
Neon signs can be hung just about anywhere, but it’s important to choose a location that will allow the sign to be seen and appreciated by as many people as possible. Some popular locations for neon signs include storefront windows, bars, and restaurants, and even in your own home as a unique and eye-catching piece of decor.
What Do You Need To Make an LED Neon Sign?
Making an LED neon sign requires several key materials and tools, as well as a step-by-step process to create the sign. Here’s what you’ll need to make an LED neon sign, along with a detailed breakdown of the steps involved:
Materials you’ll need:
- LED neon flex
- Clear acrylic sheet
- Screws
- Drill
- Craft knife
- Metal ruler
- Power supply
- Screwdriver
- Pencil
- Masking tape
- Soldering iron
- Solder
Steps to Make an LED Neon Sign:
- Designing the Sign: First, decide on the design you want for your LED neon sign. There are many different styles you can choose from, such as retro/vintage, graphic, typography, or floral/decorative.
- Select & Draft Your Design: Once you have your design in mind, use design software such as Adobe Illustrator or CorelDRAW to create a draft of your sign. This will help you visualize the final product and make any necessary adjustments.
- Cut the Acrylic Mount: Next, use a saw or laser cutter to cut the acrylic sheet to the desired size and shape.
- Drill Holes & Attach Clips: Using a drill, make holes in the acrylic sheet where you want to place the LED lights. Then, attach clips to the back of the sheet to hold the LED lights in place.
- Soldering the LED Neon Flex Strips: Now it’s time to solder the LED neon flex strips together. Follow the manufacturer’s instructions carefully to ensure that you connect the strips correctly.
- Secure the Wires: Once the LED neon flex strips are connected, secure the wires in place to prevent them from coming loose.
- Ready To Hang: Finally, attach the LED lights to the acrylic sheet using adhesive, and your LED neon sign is ready to hang!
Making an LED neon sign requires some patience and attention to detail, but the end result is a unique and eye-catching piece of decor. Follow these steps carefully to create a sign that you’ll be proud to display.
What Are The Benefits Of Neon Signs?
Neon signs are visually stunning with their glowing and eye-catching appearance. They are ideal for presenting your brand logo or signage in an attractive way, and they can also add a unique touch to your decor ideas. There are many benefits to considering neon signage. Here are the most important ones:
High Visibility
The bright and vibrant colors of neon signage are visible from a long distance. These signs are an excellent branding option, especially for new businesses, as they can help attract attention and make a strong impression.
Energy Efficiency
Neon signs use less energy than incandescent light bulb signs, which can result in up to a 60% reduction in electricity use. This means that you can leave them on all day without worrying too much about the electric bill.
Affordability
Classic neon signs use inert gases that are found abundantly in nature, making them relatively affordable. LED neon signs are even more affordable than traditional neon lights.
Eco-Friendliness
Choosing energy-efficient options is important for reducing carbon emissions, and neon signs can help maintain the aesthetic appearance of business symbols while minimizing wastage. Additionally, neon lights last longer than incandescent light bulbs, making them a more sustainable option.
Versatility
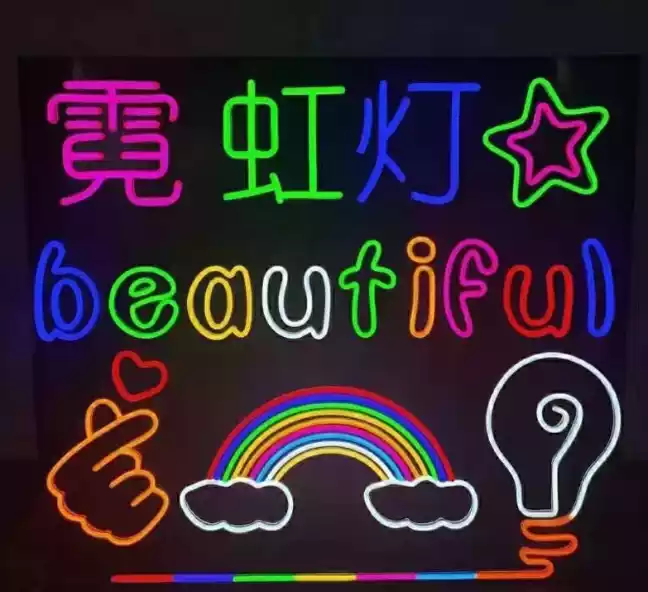
Neon signs are known for their versatility. They come in over a hundred colors, and you can customize them to suit your preferences. No matter what color or shape you need, you can fit neon signs into it.
Durability
Neon lights can last up to fifteen years, whereas the average life expectancy of an ordinary bulb is one year. This means that neon signs are more durable and can last for decades.
Attracting Customers
Neon signs are an effective tool for advertising your business. These glowing signs grab customers’ attention and draw them towards your brand, making them a valuable investment for any business.

Why Choose DIY?
Although you can purchase ready-made LED neon signs, there are many reasons to consider making your own DIY neon sign. Here are a few of the most important:
- Cost: Professional neon signs can be expensive while making your own with LED neon flex strips is much more affordable. LED strips are inexpensive and readily available, so you can save money by choosing DIY.
- Safety: LED neon flex strips are the safest option for DIY projects. Unlike classic neon signs, they don’t contain inert gases, and they are heat-resistant and shockproof.
- Creative Satisfaction: Designing and making your own LED neon sign can be a fun and fulfilling project that allows you to express your creativity. A ready-made neon sign can never compete with the creative genius in you.
Differences Between Neon Signs & LED Neon Signs
Neon signs and LED neon signs have a similar appearance, but they have many differences that make one better than the other. Here are the main differences to consider:
- Material: Neon signs use flexible real glass tubes, while LED neon lights use PVC or silicone LED strips that give the illusion of a neon glow.
- Power Usage: Neon signs use inert gas, which requires high voltage to ionize and therefore more power to operate. LED neon signs can run on a power supply of only 12 volts, making them much more energy-efficient.
- Price: The cost of neon and LED neon signs is almost the same, but LEDs can save up to 10% compared to traditional neon signs. The size of the signage and the amount of light required will also affect the pricing.
- Maintenance: LED neon signs require less maintenance than neon signs because they are easy to install and cheaper to maintain. Neon signs made of soft glass can be challenging to maintain, especially in rough
| Differences | Neon Signs | LED Neon Signs |
| Material | Flexible real glass tubes | PVC or silicone LED strips |
| Power Usage | High voltage required to ionize inert gas | Power supply of only 12 volts |
| Price | Similar cost, but LED can save up to 10% | Affected by size and amount of light required |
| Maintenance | Challenging to maintain soft glass | Easy to install and cheaper to maintain |
FAQs
Conclusion
After considering all the information and options discussed, you may have decided to create your own DIY LED neon sign. To get started, choose a design that suits your preferences and follow the instructions provided in this guide to give your sign a professional finish.
If you need to purchase LED strips or LED neon lights, our factory specializes in producing high-quality, customized options. Please don’t hesitate to contact us for more information.


