
LED strips are famous for their flexibility, but the challenge arises when you want to install them around corners. Can you bend or fold them to fit the corners? Or is there a way to mount them without causing damage? As an expert in LED lighting, I’m here to guide you through the process, ensuring a seamless and professional installation.
5 Methods To Install LED Strips Around Corners
You can install LED strips around the corners in different ways. Here, I listed out 5 best methods for you to mount the strips to any kind of edge or corner with ease.
Method#1: The Corner Fold Or 90-degree Fold
The corner fold gives a professional touch to your LED strip installment, providing precise 90-degree angles. It’s ideal for urgent situations, requiring no additional tools. However, it’s not suitable for corners with LEDs, and caution is needed with waterproof strips.
Pros:
- Creates precise 90-degree angles
- No extra tools needed
- Ideal for urgent situations
- Ensures uniform lighting around corners
Cons:
- Not suitable for corners with LEDs
- Not ideal for waterproof LED strips
Method#2: 90-Degree Pitch Or The Ribbon Bend
The ribbon bending technique, or the 90-degree pitch, is beginner-friendly. While easy to bend, it may not provide a finished look and could damage the waterproof coating if twisted tightly.
Pros:
- Easy to bend
- No tools required
- Ideal for spaces where strips are not visible
Cons:
- May not give a finished look
- Can damage the waterproof coating if twisted tightly
Method#3: Accordion Folds (The Curve)
Accordion folds are suitable for round corners or angles greater than 90 degrees. Although great for artistic lighting patterns, this method is not beginner-friendly and poses a high risk of LED damage.
Pros:
- Great for round corners
- No special connector required
- Can create artistic lighting patterns
Cons:
- Not beginner-friendly
- High risk of LED damage
- Time-consuming process
Method#4: Use L-Shape Connector
L-shape connectors provide a neat corner lighting solution. They’re easy to use, secure, and effective for creating 90-degree angles.
Pros:
- Gives a smooth and even lighting effect
- Easy to use and secure
- Minimal space between joints
Cons:
- Additional cost for purchase
- Risk of wrong cuts
- Not ideal for round edges
NB: To enhance flexibility, opt for L-wire connectors for round edges.
Method#5: The Cut-and-Jump
Ideal for unbendable LED strips, the jump connector offers flexibility in any direction. It works well on irregular corners or edges but requires additional tools.
Pros:
- Ideal for unbendable LED strips
- Flexible in any direction
- Saves installation time
Cons:
- Requires additional tool (jump connector)
- Soldering may be necessary
- Not suitable for beginners
Method#6: Use Pre-Bend LED Strips
Pre-bend LED strips, available in various shapes, offer an easy installation option. Simply peel and paste them onto corners.
Pros:
- Easy to install
- No risk of breaking
- Come in a variety of shapes and sizes
Cons:
- More expensive than regular LED strips
Steps To Install LED Strip Lights Around Corners
Step-1: Take Measurements
Measure the required length of LED strips, considering corners and curves. Purchase extra meters for flexibility.
Step-2: Decide The Bend Type
Choose a bending method based on availability of connectors. Options include 90-degree fold, ribbon bend, accordion fold, L-shape connectors, jump connectors, or pre-bend LED strips.
Step-3: Collect Required Materials
Gather materials based on the chosen method. Super glue or adhesive tape may be needed for folds, while connectors require LED strips, a sharp scissor, and connectors.
Step-4: Clean The Surface
Prepare the installation surface by cleaning with a wet cloth or alcohol to ensure strong adhesion.
Step-5: Prepare The LED Strip To Fit Around The Corners
Follow specific instructions for your chosen method – fold the LED strip, connect it with a connector, or paste pre-bend LED strips.
Step-6: Installation Removing The Adhesive Backing
Peel off the adhesive backing and firmly press the LED strip onto the corners. Use additional clips for reinforcement if needed.
Step-7: Power Up
Connect the LED strip to an LED driver if using low-voltage strips to prevent overheating.
How To Connect Two Separate Light Strips At a Corner?
When cutting LED strips for corners, reconnect them using one of the following methods:
Using a corner connector
Corner connectors provide neat installations for corners with 90-degree angles. Cut the LED strips at the bending point and connect both parts using the connector.

Soldering the light strips
Soldering offers a robust and permanent solution. Pre-tin and apply heat to one strip’s soldering pad, then place the other strip over it. Ensure a secure connection.
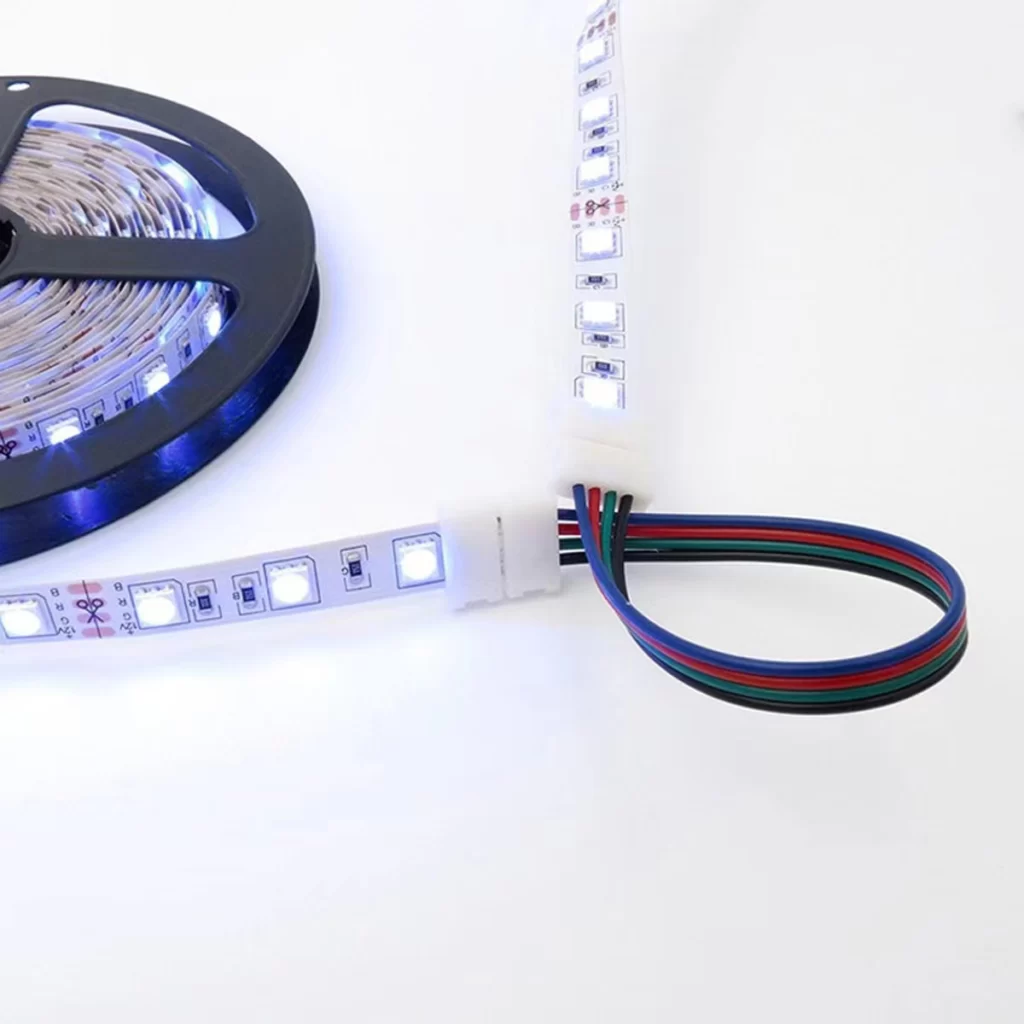
Using a cable connector
LED strip connectors with cables complete the electric circuit, joining two LED strips. Choose the appropriate connector based on your LED strip type.
Tips For Mounting LED Strip Lights Around Corners
Use super glue when bending the LED strips:
- Applying super glue or adhesive prevents messy foldings, ensuring even lighting.
Select the LED strip connector over the strip bending method:
- Connectors prevent damage due to folding, offering a more structured solution.
Choose the right connector width:
- Consider the width of the LED strip when selecting a connector to ensure a secure fit.
Consider the PIN number:
- Different LED strips require different PIN connectors. Match the PIN number for a proper connection.
Avoid bending waterproof LED strips:
- Bending may damage the waterproof coating, leading to LED damage.
Make cuts following the cut marks:
- Cut LED strips carefully along marked lines to prevent circuit breakdown.
Use the Correct Polarity (+ Goes to +):
- Ensure the positive and negative sides of the connector match the LED strip for proper functioning.
FAQs
Q: Can LED strip lights be bent around corners?
A: Yes, LED strip lights can be bent around corners. Various bending methods and connectors allow you to customize the installation according to your needs.
Q: What are the common methods for installing LED strip lights around corners?
A: There are several methods, including the corner fold, ribbon bend, accordion folds, L-shape connectors, the cut-and-jump technique, and pre-bend LED strips.
Q: How do I choose the right bending method for my LED strip lights?
A: Consider factors such as the type of corner, the visibility of the strips, and whether you have connectors. Each method has its pros and cons, so choose one that aligns with your preferences.
Q: Are there connectors available for bending LED strip lights around corners?
A: Yes, connectors like L-shape connectors and jump connectors are specifically designed to facilitate the bending of LED strip lights around corners.
Q: Can I install LED strip lights around corners without connectors?
A: Yes, you can use bending methods like the corner fold or ribbon bend without connectors. However, connectors often provide a more secure and polished solution.
Q: How do I prevent damage to waterproof LED strip lights when bending them around corners?
A: Be cautious when using bending methods, as excessive force can damage the waterproof coating. L-shape connectors or jump connectors may be preferable for waterproof strips.
Q: Are there any safety considerations when installing LED strip lights around corners?
A: Ensure the surface is clean before mounting the strips, and follow proper electrical procedures when connecting the strips to a power source. Additionally, be cautious with waterproof strips to avoid compromising their protective coating.
Q: What tools and materials do I need for installing LED strip lights around corners?
A: The requirements vary based on the chosen method. Generally, you might need LED strips, connectors (if applicable), adhesive or super glue, a measuring tape, a sharp scissor, and a clean cloth for surface preparation.
Q: How do I connect two separate light strips at a corner?
A: You can use corner connectors, soldering techniques, or cable connectors to join two separate LED light strips at a corner.
Q: What are some tips for mounting LED strip lights around corners?
A: Use super glue for secure folding, prefer connectors over bending methods for longevity, choose the right connector width, consider PIN numbers for compatibility, avoid bending waterproof strips excessively, cut carefully along marked lines, and maintain correct polarity.
Q: Can LED strip lights be cut to fit corners?
A: Yes, LED strip lights can be cut to fit corners. Follow the designated cut marks on the strip and ensure a proper connection after cutting.
The Bottom Line
LED strip lights offer flexibility and are perfect for corner lighting. While bending methods exist, connectors provide a safer and more reliable solution. Choose the right method, follow the steps carefully, and enjoy perfectly illuminated corners. For all your LED connector needs, explore MSHLED’s range with various options for different strip types.


